This page links to: plumbing.html
These pages link to here: plumbing.html
Table of contents
I did this course straight after the plumbing course
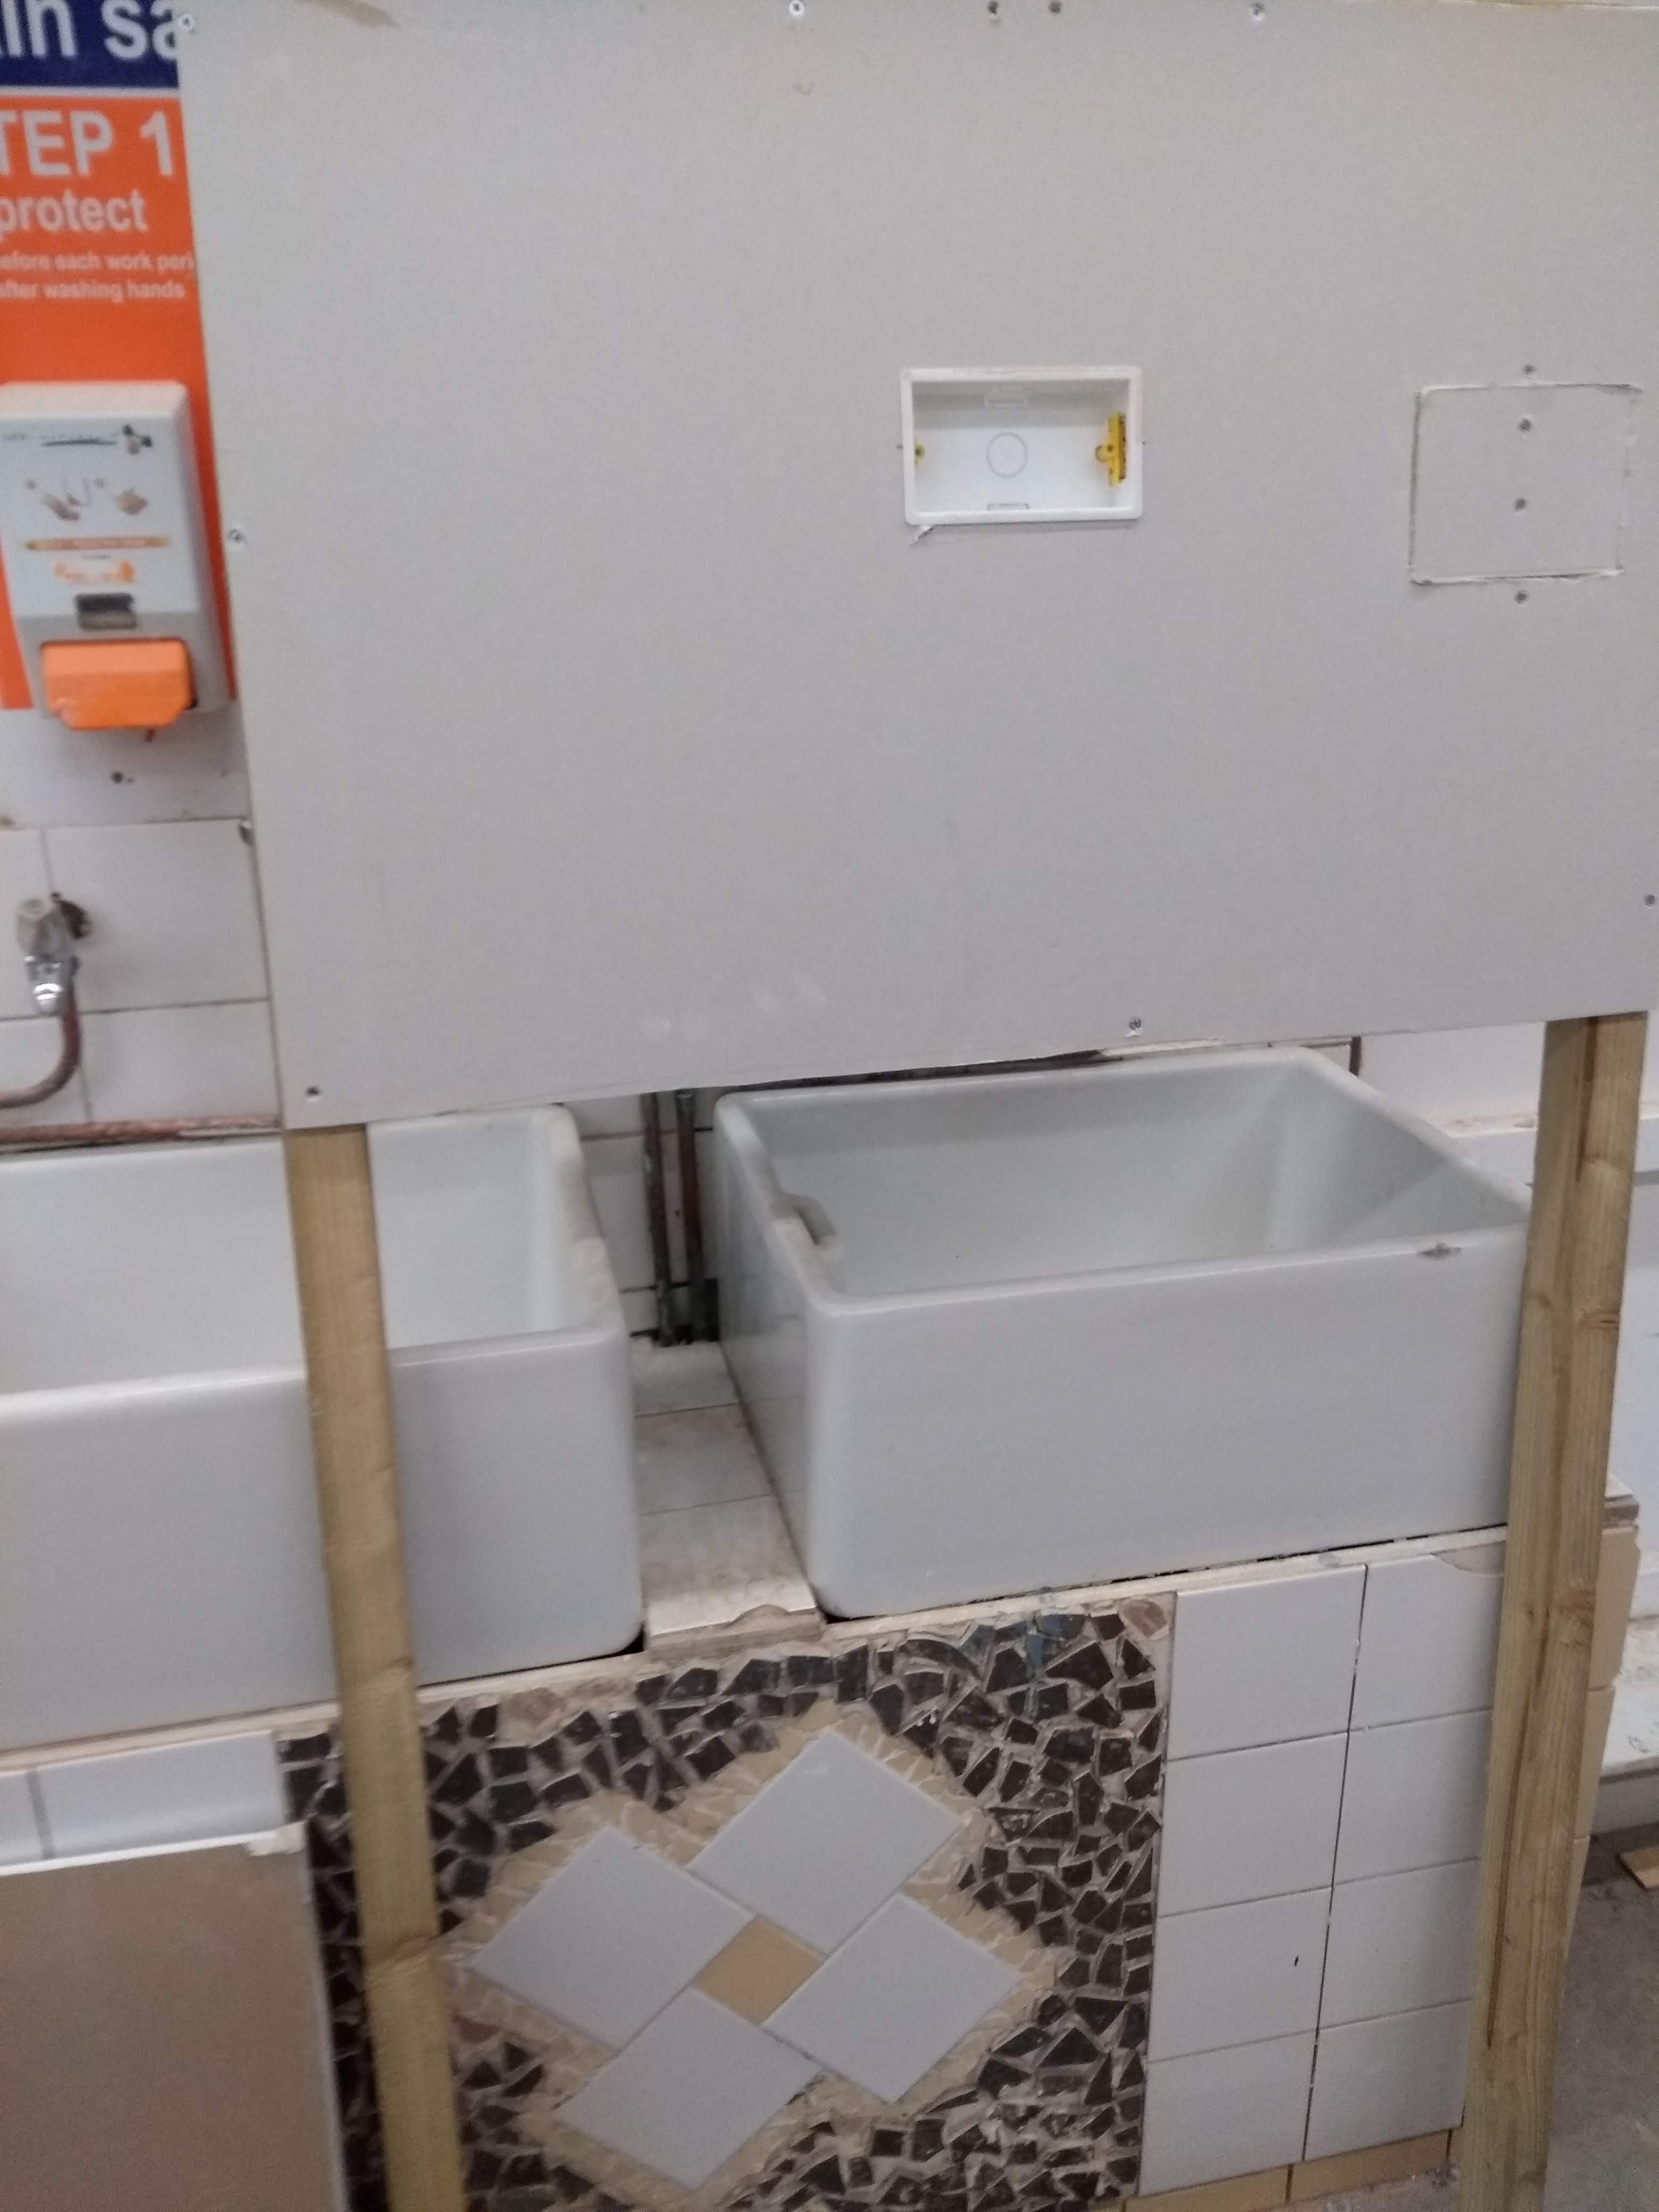
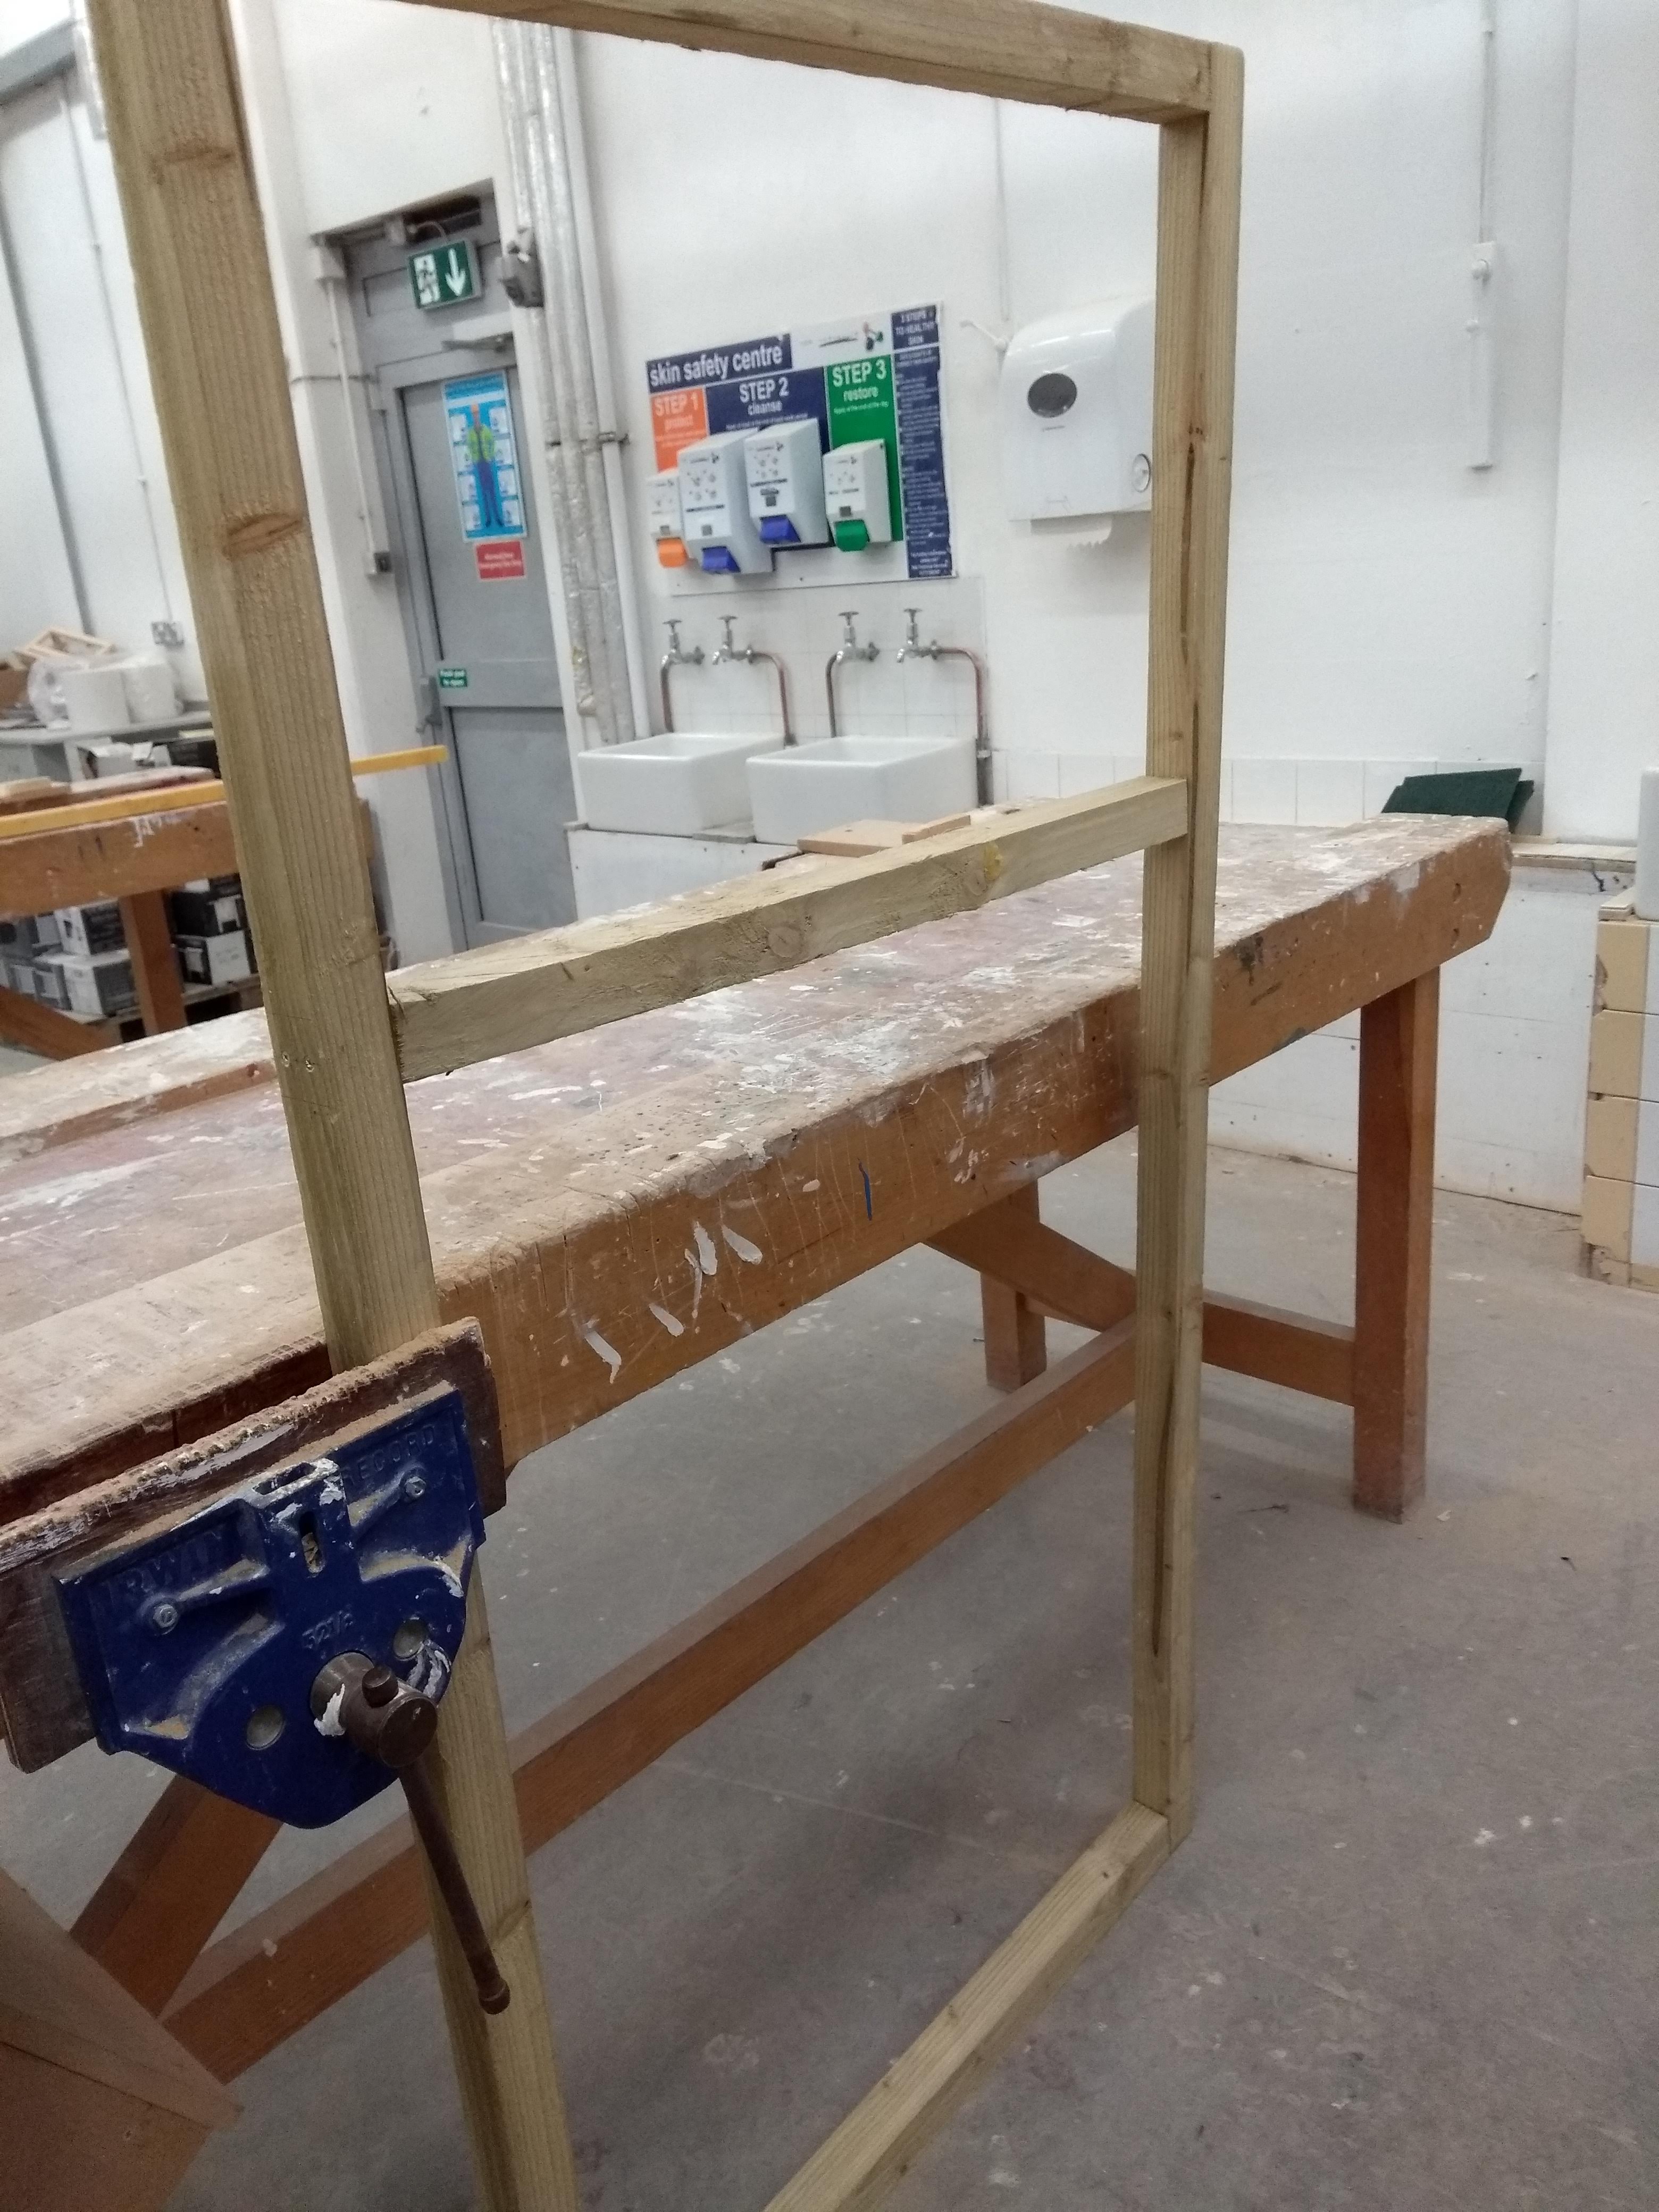
You need to make a frame out of wood, put gyprock on it, then tiles on the gyprock.
Making the frame#
- Use treated wood if it's going outside, untreated is fine otherwise
- After cutting the first length, but the second one beside it, mark the first one at the same length, and cut it - you don't need to measure it
- Make a small cut at the mark by pulling the saw backwards
- only
- , so the saw doesn't slip out of where you're cutting
- Measure twice, cut once
- Get the width of the wood (~45mm), mark that long from the end, divide into 4 even squares, then mark with X's half-way to the sides of the beam - this is so you can put screws in at the X's
- Pilot drill holes for screws so they're easier to screw in - drill them all the way in
- Then use a countersink to make an indent so the screw is flush with the wood
- Put the short beam at the end of the long one, lined up with the screw holes
- Screw in 4 3-inch screws
- Do it a little bit at a time, don't push too much
- Push a little bit on the end of the drill to get the screw in
- Make sure the drill's the same orientation as the screw
- You can make the drill go into reverse to get the screw out, and try again
- The drill bit should be slightly bigger than the screw if it's gripping, smaller otherwise
- Sometimes you need to make the drill longer if the screw doesn't go the whole way through the wood
- Screw in both short beams to one of the long beams first
- You'll need a middle beam, ~800mm long
- Mark 600mm down - where the bottom of the middle bit goes
- Mark 4 squares above the 600mm line, like before
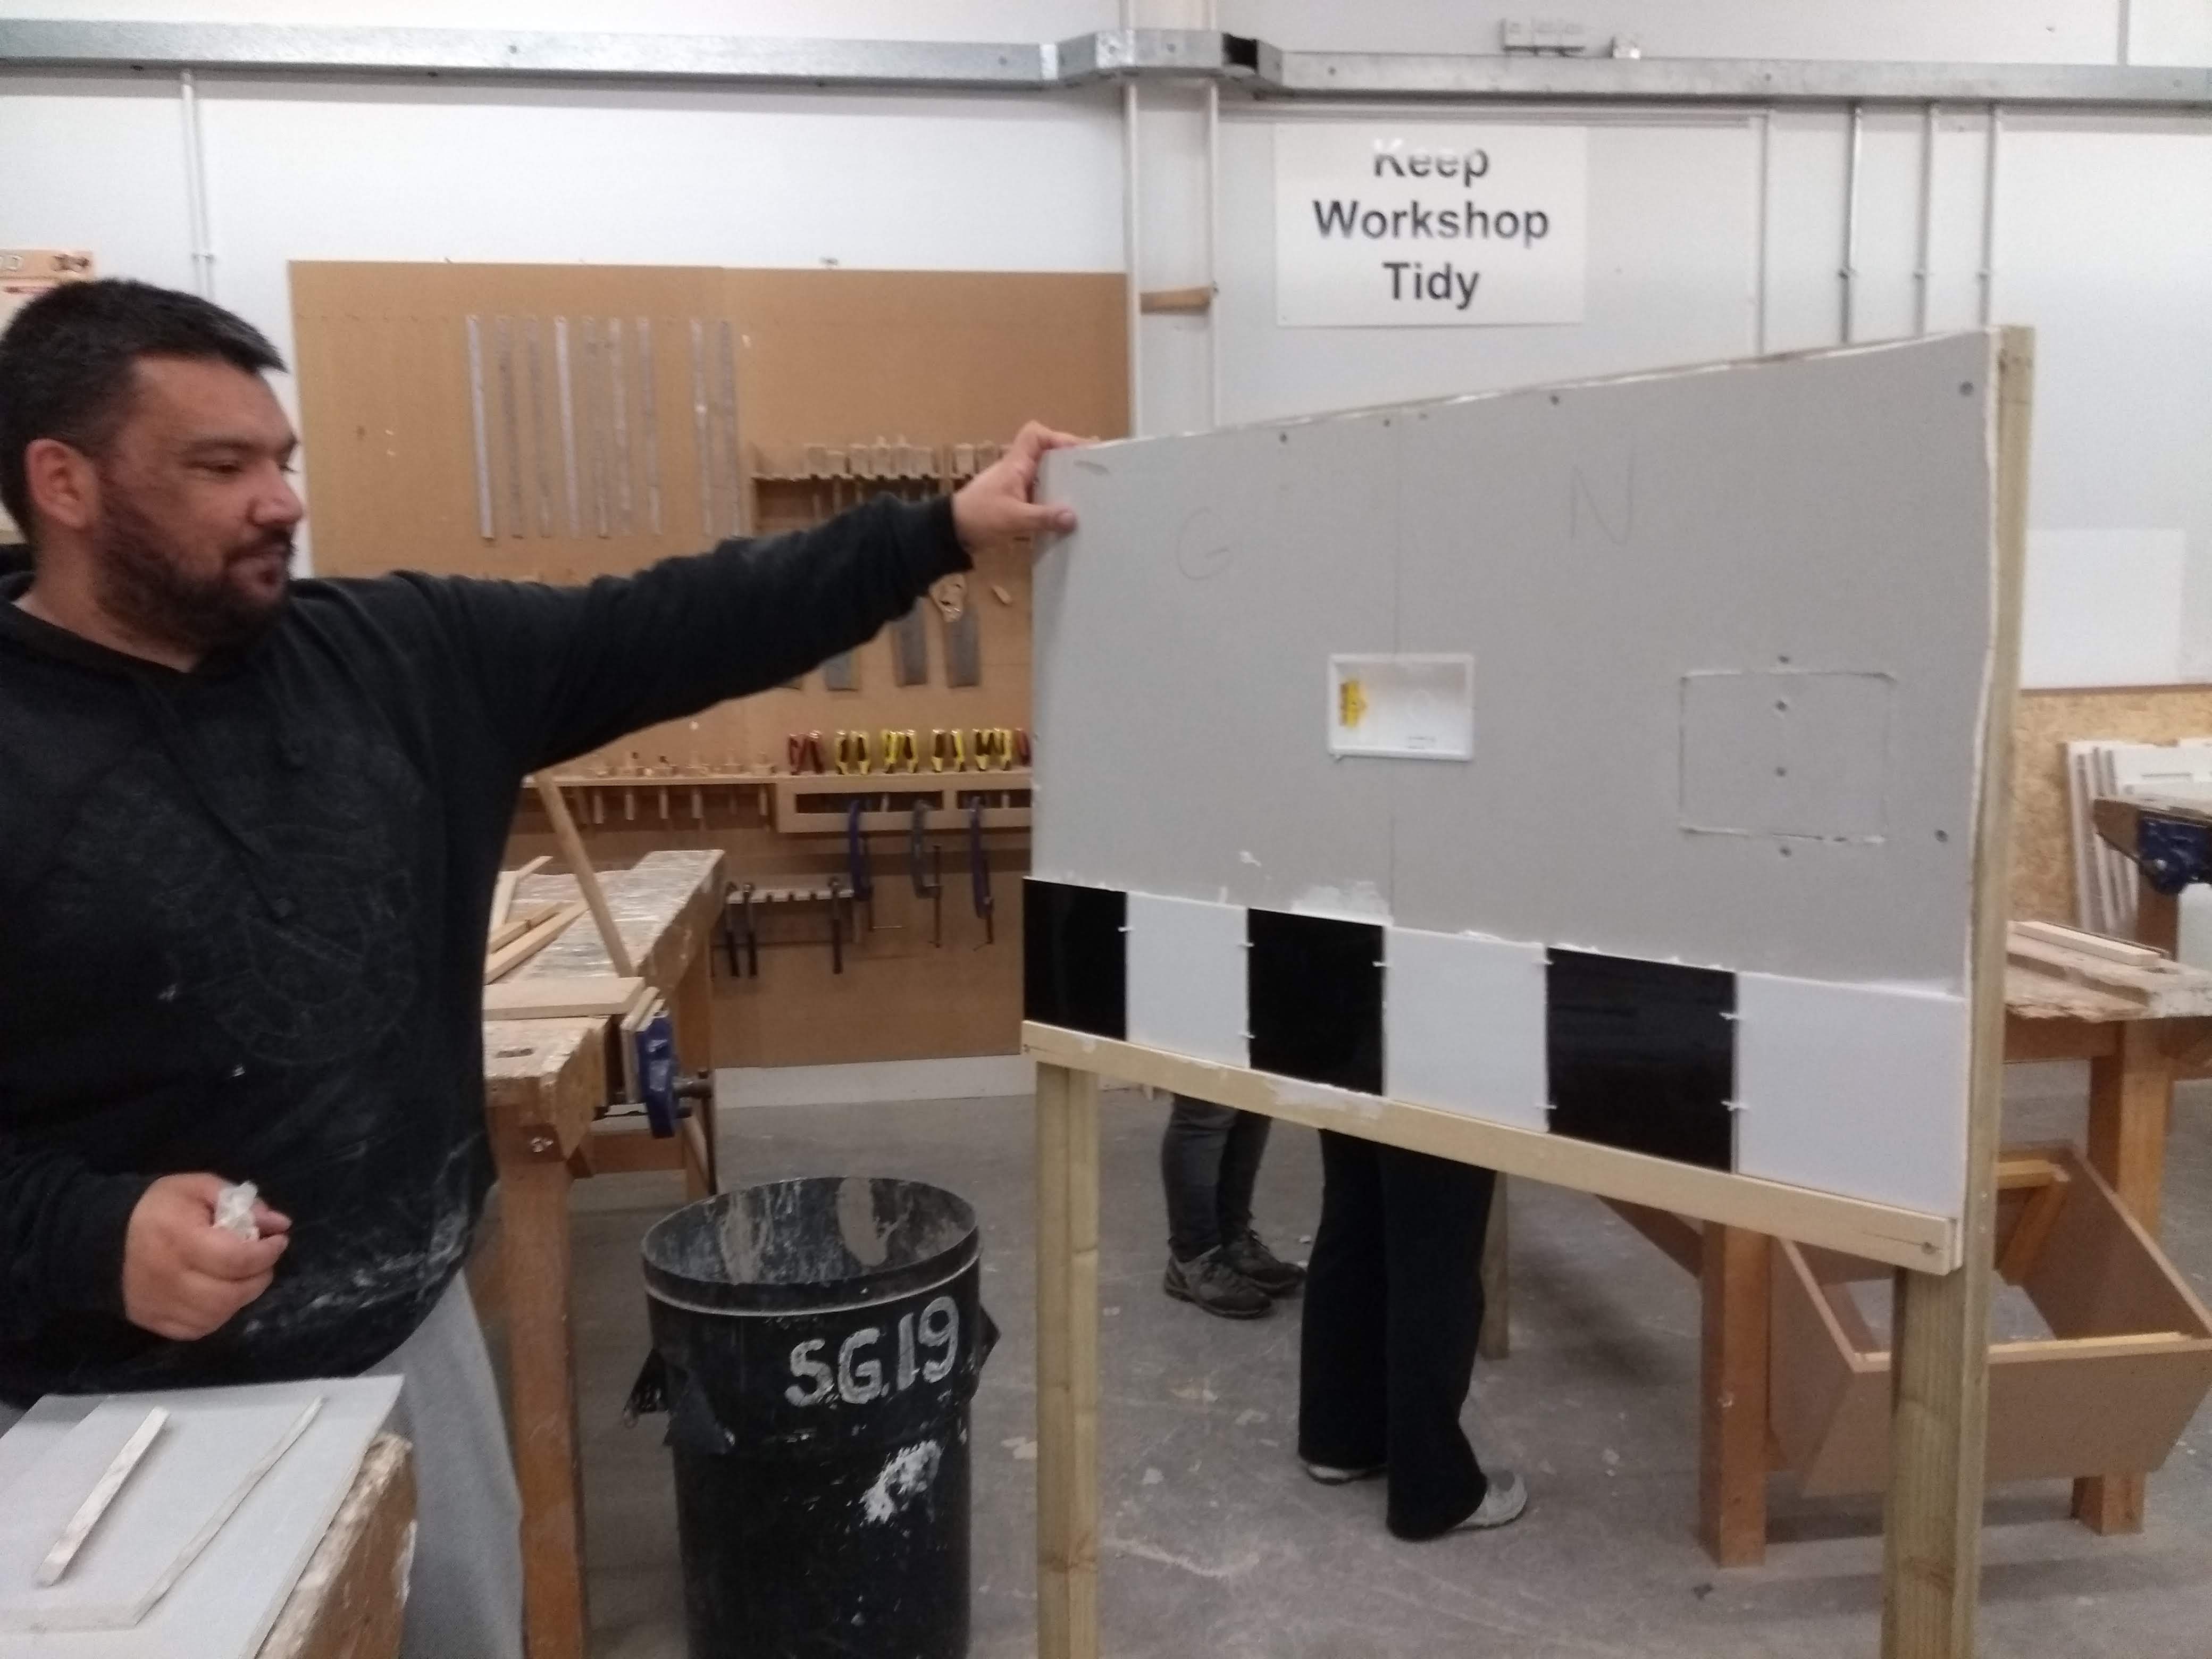
Putting gyprock on the frame#

It has a tapered edge, so when you join 2 pieces together, it looks like 1 continuous piece
- Cut at 1200mm with a stanley knife - it's easier if you cut against a long beam
- Pull the knife against the beam so it doesn't slip the wrong direction
- Cut that piece at 600mm
- Cut that piece at 890mm - the width of the frame + 2 * the width of the beam
- Drywall screws are a bit smaller than normal ones
- Screw in in the corners and middle, a bit, so that the screws are stuck in the gyprock
- Put the frame in a vice, screw gyprock in - make sure the screw heads are past the gyprock, it needs to be flat
- Put more screws in until it's secure
Putting things in the gyprock#
Socket box#
- Put the closed end against the gyprock, make sure it's not against the frame
- Draw a box round it tightly
- Hammer a hole in the center of the box, then paddle saw from the hole to the corners, then round the rectangle - it's better to stay inside the lines, you can sand off extra bits, but you can't get pieces you've removed back
- Rasp edges if you need to
- Push the yellow sides of the box in, push the box in, then pull the yellow bits back, so they're behind the gyprock
Repairing holes#
- Mark a box round the hole, like with the socket box - use a spirit level
- Cut with a paddle saw and rasp, like before
- Cut another piece of gyprock that's the same size as the hole - it should be slightly bigger, you can rasp it
- Cut a length of wood a bit longer than the hole
- Put drywall screws on each side of the hole like before
- Put the wood behind the hole, then screw the screws in
- Push the extra piece in the hole, screw more screws into the wood
- You won't see the repair once it's filled in and sanded properly
Tiling#
- You need a strap of wood at the bottom for the tiles to sit on
- Cut it, put screws in the wood a bit - make sure they'll go into the wood & won't hit the screws you've already put in the frame
- Screw in against the gyprock, make sure the wood's level
- Measure a tile to work out the gauge, and mark the lengths against a gauge rod (can be just another beam)
- 'Tile' the tiles (like a desktop background) against the gyprock, leaving 2mm between them for spacers
- If the tiles leave a big bit on one side not covered (a cut), find the middle of the wall and tile from the inside out, so you'll leave an even cut on each side (if you're tiling a floor, imagine it's a square)
- Run silicon round the corners of walls - you don't need the anti-mold one, it doesn't work
- Use flexible adhesive on wooden floors - joints will crack with movement on the floor otherwise
- use ordinary adhesive on walls
- use waterproof adhesive in a kitchen/bathroom
- powdered adhesive's better for grout
- When putting a bath in, seal it first, half-fill the bath with water, and let it sit for a day, then tile
- Double seal to stop leaks
- Put adhesive on the wall or the tile - hard to do it on brick walls, tiles are easier
- Push tiles hard against the adhesive, aligned with the lines you drew earlier
- Put spacers between 2 tiles
- If a tile's below another one, put a spacer between them
- use 5mm spacers in bathrooms so you get grout in the gaps properly
- Wipe every 3 or 4 tiles with a wet sponge
- Squeeze tiles flat so they're against a flat surface - check with a spirit level
- Bob Marley died in 1981
- Wash the adhesive trowel with a wet sponge, not in the sink - it'll dry out and clog the sink - then throw the water in the bin
- Make sure there's on adhesive around the tiles - you won't be able to put another tile ontop/beside it; you can chisel off the adhesive
Cutting tiles#
- Draw lines on the tiles where you want to cut them - you can draw on the back if you can't see lines on the front
Tile cutter with water & spinning blade#
- use for internal/corner cuts
- put the guard down to stop the water gonig everywhere
- push the tile against the surface & push forward along line you've cut
- clean the slurry out occasionally
Manual tile cutter#
- push handle down against tile
- hold the thing at the back up to avoid scoring the tile
- push tile along the ling you've cut
Attaching fittings#
- Drill holes before grouting the tiles - drill dust will break the grout otherwise
- Let the tiles settle for a week after drilling before grouting them
- make sure to clean them
- speed plug cavity wall anchors are alternatives to wall plugs
- if putting a TV on drywall, cut out some gyprock, find out where the wall studs are, put a horizontal strip of woof on the studs & replace the gyprock with MDF - the TV definitely won't come off the wall now
Toilet roll holder#
- draw a circle in one of the screw holes
- with a spirit level, draw a line across so you know where to draw the 2nd circle & draw the 2nd one
- very gently, with a tungsten tipped bit (looks like an arrowhead), drill a hole - press gently against the tile 1st, don't go the whle way through, you'll think it's not doing anything
- go the whole way through with a normal drill bit - you might need to go through more with the tungsten bit
- put wall plugs in the holes - unless the hole is in the wood the whole way through, no need for them then
- gently hammer the plugs in if they're tight
- put screws in the TL holder & that in the drilled holes, turn by hand a bit so it catches, screw in with a drill, in intermittant bursts
Soap holder#
- mark 2 circles again
- rest is the same as above
- you might need to use a screwdriver if you can't fit the drill in
Silicon#
- cut the top off with a stanley knife
- squeeze the trigger until a bit comes out
- run along the tile edges
- lock the trigger so silicon stops
- clean the extra stuff with a wet finger
- can take it off later with a razor or masking tape - leave to set for 24 hours & peel off
Grouting#
- get a rubber grout float
- clean the tiles 1st
- take holders & spacers off
- put grout in the spaces between tiles, not on the tiles themselves - it's awkward to clean off
- do a few tiles (2 or 3) then clean off the extra with a wet sponge - it hardens quickly
- make sure the grout's properly in the gaps
- wait for a while, it'll turn dusty, then clean again
- clean 24 hours later again
- coat gyprock with PVA to protect it from water

